Introduction
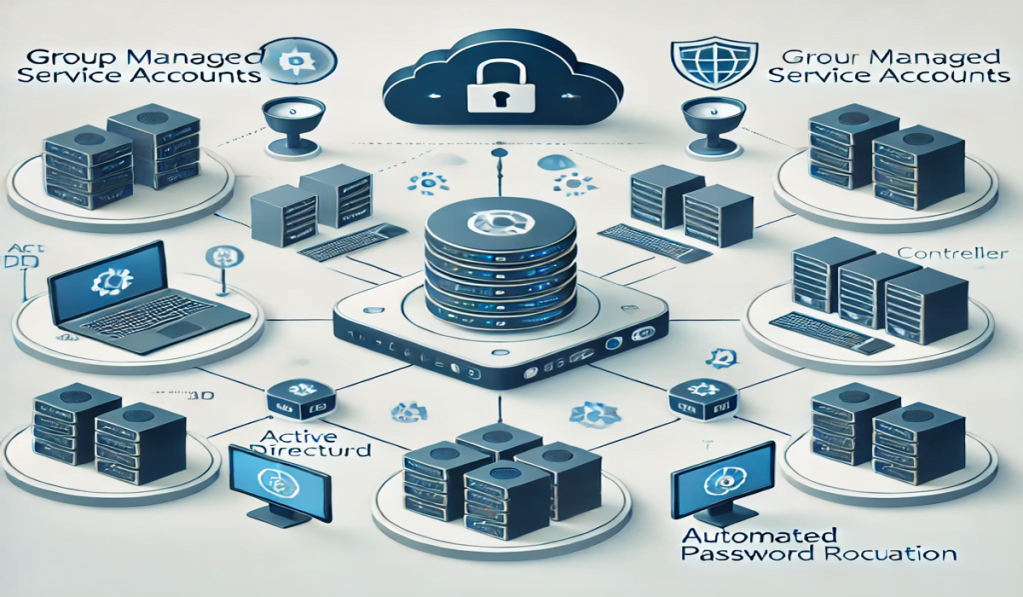
In today’s digital infrastructure, managing service accounts effectively is key to ensuring the security and efficiency of network services. Group Managed Service Accounts (gMSAs) are an evolution in service account management, providing greater control, automation, and security over traditional service accounts.
This guide will walk you through the basics of gMSAs, their comparison to normal service accounts, their benefits, and the exact steps to create a gMSA with examples and PowerShell commands.
What are Group Managed Service Accounts (gMSAs)?
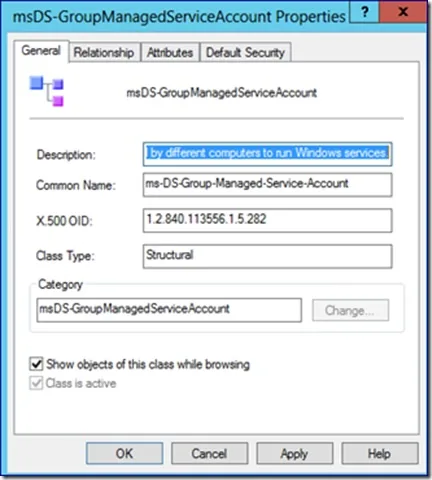
gMSAs are an advanced version of Managed Service Accounts (MSAs) designed for use with services and applications that run across multiple servers, such as web applications, SQL servers, and services in Active Directory environments. They provide a secure mechanism to manage service identities without requiring password management.
Unlike traditional service accounts, gMSAs eliminate the need for manual password updates, ensuring that services remain secure and operational with minimal administrative effort.

Comparison: gMSAs vs Normal Service Accounts
| Feature | Normal Service Accounts | Group Managed Service Accounts (gMSAs) |
|---|---|---|
| Password Management | Requires manual updates, leading to potential security risks. | Automatic password management by Active Directory (AD). |
| Multi-Server Usage | Not suitable for use across multiple servers. | Can be used across multiple servers within a domain. |
| Security | Prone to misuse, password leaks, and manual errors. | Enhanced security with automatically rotating complex passwords. |
| Administrative Overhead | Higher due to manual processes for updates. | Lower with automated password management and reduced errors. |
| Kerberos Constrained Delegation | Limited or none. | Fully supported. |
Benefits of Group Managed Service Accounts (gMSAs)
- Automated Password Management: gMSAs automatically rotate and update passwords every 30 days (by default), removing the burden of manual intervention.
- Enhanced Security: With no need for administrators to handle service account passwords, the risk of password exposure is reduced significantly.
- Support for Multiple Servers: gMSAs can be used across multiple servers, making them ideal for environments running applications like IIS, SQL Server, or clustered services.
- Simplified Administration: Tasks like password reset policies and service account delegation become easier with gMSAs, streamlining account management.
- Kerberos Constrained Delegation Support: gMSAs offer support for Kerberos constrained delegation, enhancing their flexibility for secure access and delegation across applications.
- Improved Auditing: gMSAs work with Active Directory’s auditing capabilities, making it easier to track their use across systems and services.
How to Create a Group Managed Service Account (gMSA)
Creating a gMSA involves several steps within an Active Directory environment. Here’s a detailed walkthrough:
Prerequisites:
- Active Directory domain with at least one Windows Server 2012 or later Domain Controller.
- Windows PowerShell with Active Directory Module installed.
- A security group that will manage the gMSA.
Step 1: Install the Active Directory Module for Windows PowerShell
If you haven’t already installed the AD module for PowerShell, you can do so by running the following command:
Install-WindowsFeature -Name RSAT-AD-PowerShellStep 2: Create a KDS Root Key
gMSAs rely on the Key Distribution Service (KDS) for automatic password management. If you haven’t created a KDS root key, do so with this command:
Add-KdsRootKey –EffectiveImmediatelyNote: The KDS root key may take up to 10 hours to become effective across all Domain Controllers. If you’re in a lab environment and need immediate use, use this command:
Add-KdsRootKey –EffectiveTime ((Get-Date).AddHours(-10))Step 3: Create the gMSA
To create a gMSA, you need to define the service accounts that will have access to use it. Use the following command to create the gMSA:
New-ADServiceAccount -Name MyGmsaAccount -DNSHostName MyServerDomain.local -PrincipalsAllowedToRetrieveManagedPassword "MyServerGroup"Replace "MyGmsaAccount", "MyServerDomain.local", and "MyServerGroup" with the appropriate account names and groups.
Step 4: Install the gMSA on the Server
Now that the gMSA is created, you can install it on the target servers by using this command:
Install-ADServiceAccount -Identity MyGmsaAccountStep 5: Verify the gMSA Installation
To verify that the gMSA is installed correctly and is operational, run the following PowerShell command:
Test-ADServiceAccount MyGmsaAccountIf the result returns True, the gMSA is correctly installed and functioning.
Step 6: Using gMSA in Services
Once the gMSA is installed and verified, you can use it with various services like IIS, SQL Server, or any Windows service. When configuring these services, provide the gMSA account name in the format: Domain\MyGmsaAccount$ (ensure to include the $ at the end).
Also Read: Pros and Cons of Using Kerberos for Authentication
Conclusion
Group Managed Service Accounts (gMSAs) represent a powerful tool for managing service accounts in Active Directory environments. Their ability to automate password management, enhance security, and support multi-server environments makes them an ideal choice for enterprise-level applications and services. By following the steps outlined in this guide, you can easily create and deploy gMSAs within your organization, improving both security and administrative efficiency.
Also Read: How to count number of objects in active directory
External Resources
Getting Started with Group Managed Service Accounts
Group Managed Service Accounts Overview
- Why should you automate Active Directory cleanup? - 17 June 2025
- Troubleshooting: Unable to Add Instance Failover Group to Azure SQL Managed Instance - 4 March 2025
- 10 Azure Virtual Desktop (AVD) Cost-Optimization Strategies for 2025 💡💰 - 22 February 2025


